If you ever have to open up a wheel hub on a trailer, chances are you're going in to either grease the bearings or replace them because you didn't. The key is to make sure the trailer bearings stay greased on your own terms, so you don't find yourself replacing them on the side of the road at an inopportune time.
When installing trailer bearings or replacing them, you need a pair of pliers, a lug wrench, a hammer, a flathead screwdriver and the necessary means to jack the wheel up safely. Be sure to loosen the lug nuts with the lug wrench first. Once the wheel is in the air, all you have to do is follow a few simple steps.
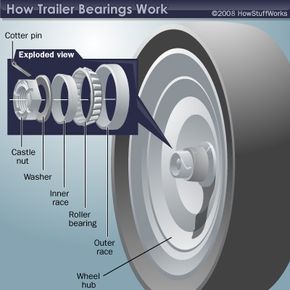
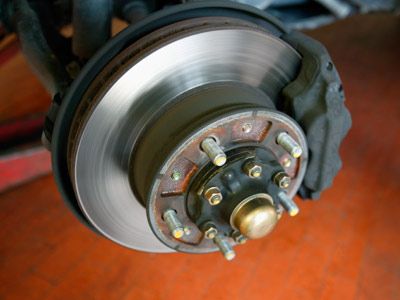
First, completely remove the lug nuts and tire, followed by the dust cap or, if you're using one, the bearing protector. You can remove the dust cap by prying it off with the screwdriver, but a protector may require a few light taps with a hammer. To gain access to the bearings, you'll next need to straighten out and remove the cotter pin that holds the castle nut in place. Then remove the castle nut and washer.
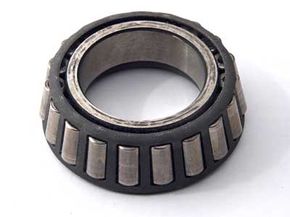
The next move is to remove the wheel hub, which should simply slide off the central spindle if everything is in good condition. Next, pull the outer bearing off the hub. You may have to rock the hub or tap it with a mallet if the outer bearing is stuck. If you can't get it to move at all, you'll need to apply more force or take it to a garage. Once the hub is off the spindle, lay it down with the outer bearing facing up. Then remove the outer bearing (the bearing and race assembly closest to the outside of the wheel) and spindle washer, and set them aside. Next, pry off the inner seal and remove the inner bearing.
Now, you'll want to take the inner and outer bearing cages out of their races to clean them. Remove as much grease as possible from the parts with rags, then wash them in solvent or degreaser and leave them out to dry. Once dry, inspect the parts to make sure there are no visible signs of rust, corrosion or other damage. If you find any problems, you'll need to replace the parts.
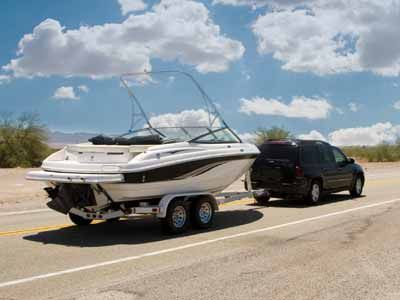
Once you have clean, dry parts ready for reassembly, it's time to gob on some fresh bearing grease. With boat trailers, you'll need to grease the entire hub to help keep water out. Otherwise, just grease the race surfaces and pack the bearings with as much grease as they'll hold. You can perform this task by hand or with a bearing packer, which typically costs $20 or less. Once packed, insert the inner bearing and seal, followed by the outer bearing and seal. Be sure to grease the spindle along the way. Once these are back in place, all you have to do is install the washer, castle nut, and dust cap or bearing protector. Then simply put the wheel back on and jack the trailer back down.
If properly cared for, these towing components should help to keep your trailer rolling along smoothly. However, if you need to replace them; new bearings and seals generally run in the neighborhood of $25 for a set of two. Just remember, one size does not fit all. Make sure you bring old parts to the garage or auto parts store to ensure you pick up some pieces you can use.
Explore the links on the next page to learn even more about towing.