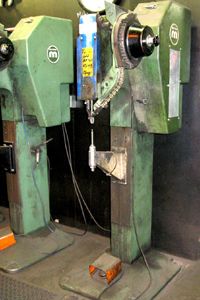
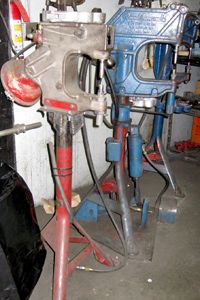
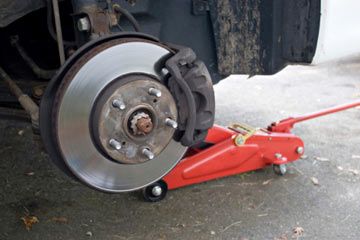
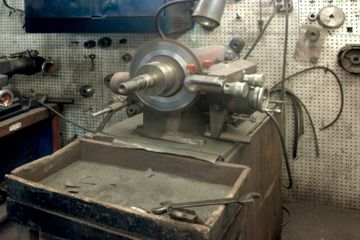
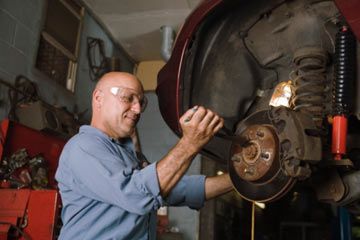
Brake riveting tools are kind of the Sony Walkman of the automotive shop -- thanks to newer, better, faster technology, these machines are nearly extinct. Most brakes these days are bonded to the lining, though a few are still riveted together. In the case of large machinery applications, like the overhead cranes that load and unload ships, the brakes are both bonded and riveted.
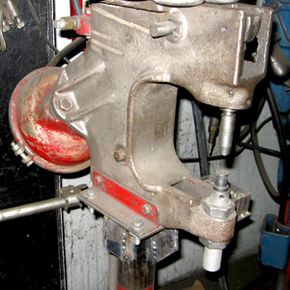
No matter what kind of brake-riveting tool you use, you're going to find these basic parts:
Advertisement
- Anvil: This is the solid block of metal where the head of the rivet sits. Since rivets aren't very big, the anvil doesn't need to be, either. (It looks nothing like the cartoon anvil you're imagining being dropped on Wile E. Coyote's head.)
- Roller: This is the cylindrical tool, about 4 to 6 inches (10.2 to 15.2 centimeters) long in most cases, that comes down over the straight rivet and rolls its edges, kind of like rolling the top of a sock down your leg. The rolled edge holds the metal plates together.
- Rivet: You can't use a riveting tool without a rivet. There's a head on one end and a tube extending from it; the tube is what rolls down.
- Brake and lining: These two pieces of curved metal have matching holes drilled for setting the rivets.
The pressure of a hammer or a press rolling the edges of the rivet down and expanding the body of the rivet slightly holds the brake and lining together. Now that we've got the basics down, we can see how these things are used.
Advertisement
