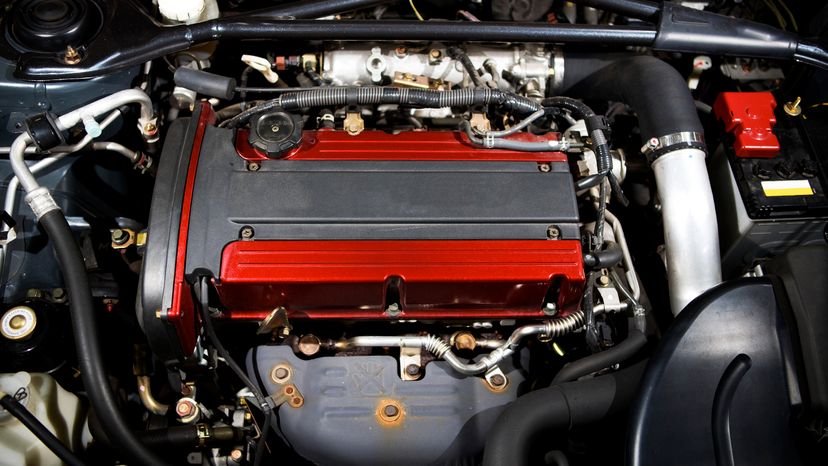
Repairing your car may seem intimidating, but learning to do easy mechanic jobs will save you a lot of money and hassle. The intake manifold, usually a plastic piece with no moving parts, is responsible for providing airflow to your car's internal combustion engine [source: Juran]. With no airflow, the gasoline cannot be ignited and your car won't start. Follow the easy steps below to remove the intake manifold and have your car purring again.
- Remove the air filter and air filter container. Pay close attention during the removal process; you will have to reconnect all the parts when replacing the intake manifold.
- Open the hose clamp with a flathead screwdriver. Remove the carburetor's fuel line and any vacuum lines that are attached to the carburetor.
- Remove the links attached to the throttle by removing the screws with the screwdriver.
- Loosen the nuts holding together the carburetor and intake manifold. They're located on the four corners of the carburetor.
- Remove the distributor by loosening the connecting bolts with a wrench.
- Remove the upper radiator hose from the intake manifold by loosening the screws with your flathead screwdriver.
- Loosen the bolts fastening the intake manifold to the engine.
- Clean the surface of the engine.
- Prep the new intake manifold for installation by checking for any leaks from the gaskets and applying gasket sealant on both sides of each gasket.
- Fit the new intake manifold into place next to the engine block. Replace the bolts, screwing them in and securing the intake manifold to the engine.
- Reinstall the upper radiator hose, distributor, carburetor, links to the throttle, carburetor fuel line, vacuum lines and air filter [source: Morgan].
Advertisement