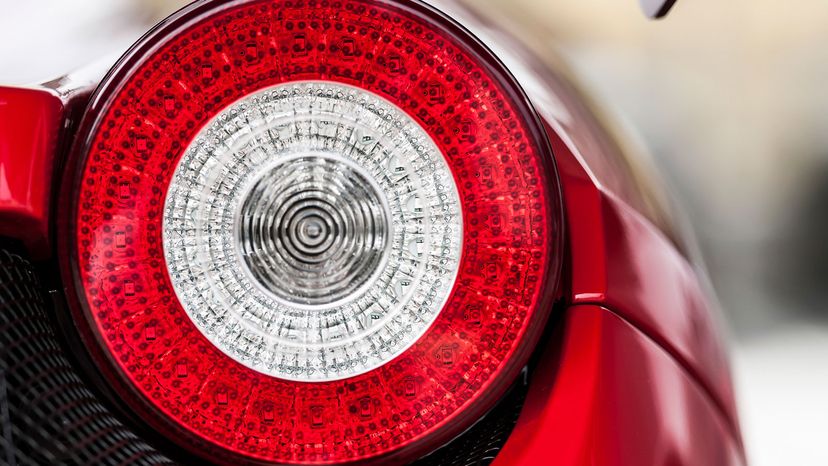
Testing Brake Light Bulbs

Replacing a brake light bulb is a simple task. Generally, you'll go in through the trunk of the car or the fender (check your manual for specifics, especially for the center brake light change-out procedure). First, gently remove any casing or bulb trim that might be present and set it aside. Next, unscrew the bulb as you would any light bulb. Inspect the housing of the bulb, as well as the filament inside. Is the filament blackened and broken? Then you're going to need a new bulb. Is the bulb cracked? You'll need to replace it.
It's important to check the other brake light bulbs as well. Do the self-test (with the broomstick) or get a friend or a large mirror situated so you can see from the driver's seat whether the brake lights go on and when you apply pressure to the brake pedal.
Advertisement
Replacement bulbs cost about $10 for a basic model and up to $30 for extra bright halogen lights. (They're usually sold in packs of two.) Many newer models also feature LED bulbs at the front and rear, which typically cost more and may require professional installation. Make sure to consult your owner's manual to determine the type of bulb and wattage you'll need for your particular vehicle. Once the new bulbs are in, test them again. If they don't work at that point, you may have a bad socket, which will require the attention of a professional mechanic.
The issue may also lie with the brake light switch. So how do you test it?